Knitting a cozy throw blanket can transform your living room into a warm, inviting space. Whether you’re a seasoned knitter or just beginning, creating a knit throw blanket is both a relaxing and rewarding process. This knit throw blanket tutorial will guide you through each step, from selecting the right materials to completing a beautifully finished product. We’ll also answer common questions along the way to ensure you’re equipped with the knowledge and confidence to get started.
Why Knit a Throw Blanket for Your Living Room?
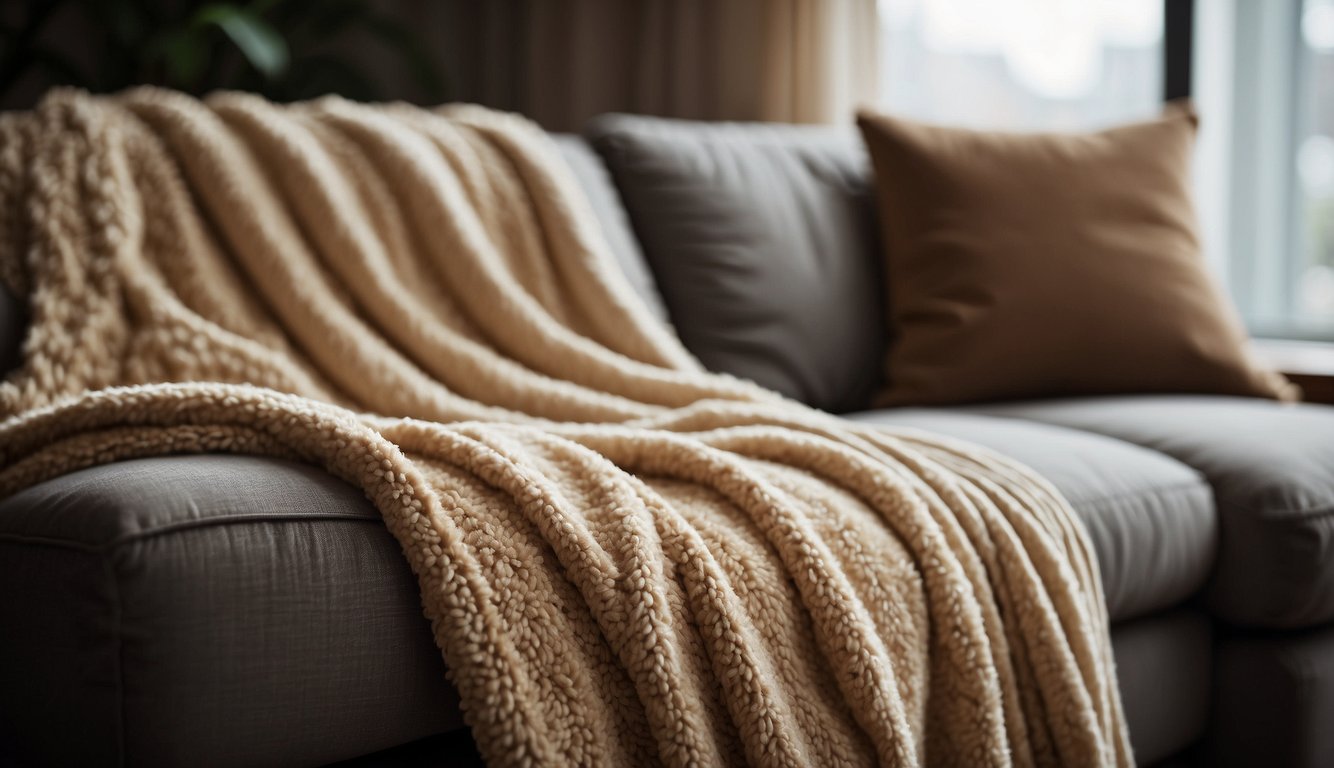
Knitting a throw blanket isn’t just about adding warmth—it’s about adding a personal touch to your home. A hand-knit blanket offers a level of craftsmanship and style that store-bought blankets often can’t match. It’s a project that allows you to tailor the size, color, and texture to suit your living room décor. Additionally, learning to knit enhances your mindfulness, reduces stress, and improves your overall sense of well-being.
In this knit throw blanket tutorial, we’ll cover every aspect of the process so that even beginners can follow along. By the end, you’ll have a cozy, handmade throw that you can proudly display in your living room.
Materials Needed for Your Throw Blanket
Before starting your knit throw blanket tutorial, it’s essential to gather all necessary materials. Here’s a quick checklist of the items you’ll need:
1. Yarn:
Select a bulky or super bulky yarn to create a thick, warm throw. Opt for natural fibers like wool or cotton for durability and softness, or go for synthetic blends for easy care. The amount of yarn needed will depend on the size of the blanket you want to create, but typically, 8-10 skeins are sufficient for a medium-sized throw.
2. Knitting Needles:
For bulky yarn, use size 10mm to 12mm knitting needles. Circular needles are ideal for knitting large blankets as they allow the weight of the blanket to rest in your lap instead of on your wrists.
3. Stitch Markers:
These are useful for keeping track of pattern repeats, especially when working with multiple stitches.
4. Measuring Tape:
This ensures your blanket meets your desired dimensions.
5. Darning Needle:
You’ll need this to weave in the ends once your project is complete.
Choosing the Right Pattern for Your Throw Blanket
When selecting a pattern for your throw blanket, consider your knitting experience and the desired look of your final product. Beginners may want to start with basic stitches, such as the garter stitch or stockinette stitch, while more advanced knitters might opt for intricate cable designs or textured patterns.
Simple Garter Stitch Pattern
The garter stitch is one of the simplest and most popular patterns used in throw blankets. It involves knitting every row, which creates a reversible and stretchy fabric perfect for cozy blankets. This stitch pattern is ideal for beginners following this knit throw blanket tutorial as it provides a steady rhythm that’s easy to maintain.
Advanced Patterns
For those seeking a more intricate design, consider adding cable stitches or combining different textures like moss or seed stitch. These patterns add a layer of complexity and elegance to your throw.
Step-by-Step Knit Throw Blanket Tutorial
Now that you have your materials ready, let’s dive into this step-by-step knit throw blanket tutorial.
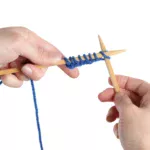
Step 1: Cast On
Begin by casting on stitches according to your desired width. For a standard throw, you’ll need around 100 stitches using bulky yarn and 10mm needles. The cast-on method can vary depending on your pattern. A long-tail cast-on is recommended for its flexibility.
Step 2: Knit the First Rows
Start knitting the first row using your chosen pattern. For beginners, the garter stitch (knitting all rows) is the easiest to follow. Keep your tension consistent to ensure your blanket looks neat and uniform.
Step 3: Continue Knitting
Continue knitting until your blanket reaches the desired length. A typical throw is about 60 inches long, but you can adjust this based on your preferences. It’s important to count your rows and check your work periodically to ensure everything stays on track.
Step 4: Bind Off
Once your blanket is the length you want, it’s time to bind off. To do this, knit two stitches, then pass the first stitch over the second one. Continue this until only one stitch remains, then pull the yarn through to secure the end.
Step 5: Weave in Loose Ends
Use a darning needle to weave in any loose yarn ends to finish your blanket. Make sure they’re secure to prevent unraveling over time.
Real-World Example: A Beginner’s Success Story
Let’s consider Sarah, a beginner knitter who followed this knit throw blanket tutorial. Sarah started with a simple garter stitch and selected a super bulky yarn in a neutral beige tone. Within a week, she completed her first blanket and proudly displayed it in her living room. Not only did the blanket add a cozy element to her décor, but it also gave her a sense of accomplishment. Following this easy tutorial, Sarah has since knit several more blankets, experimenting with colors and patterns to match the changing seasons.
Common Mistakes and How to Avoid Them
Even seasoned knitters encounter challenges while working on large projects like throw blankets. Here are some common mistakes to watch out for and tips on how to avoid them:
- Uneven Tension: Ensure that your stitches are even throughout the project to prevent parts of your blanket from being tighter or looser than others.
- Running Out of Yarn: Always purchase more yarn than you think you’ll need. It’s better to have extra than to run out mid-project, especially when using a specific dye lot that may be hard to match later.
- Incorrect Gauge: If your stitches are too tight or too loose, your blanket may not match the desired size. Take the time to knit a swatch before starting the project.
FAQ: Frequently Asked Questions About Knitting Throw Blankets
A: The time it takes to knit a throw blanket depends on your experience level, the complexity of the pattern, and how much time you dedicate to knitting. On average, a beginner can complete a basic throw in 1-2 weeks.
A: Bulky yarn made from wool, cotton, or acrylic blends is ideal for throw blankets. Wool provides warmth, while acrylic offers durability and easy care.
A: Absolutely! This knit throw blanket tutorial is designed with beginners in mind, and the garter stitch pattern is perfect for those just starting out.
Key Takeaways
- Materials: Bulky yarn, 10mm needles, stitch markers, and a darning needle are essential tools.
- Pattern: Beginners should start with a garter stitch pattern, while more advanced knitters can experiment with cables or textures.
- Process: Start with casting on, knit the desired length, bind off, and weave in the ends.
- Common Mistakes: Avoid uneven tension, running out of yarn, and incorrect gauge.
Knitting your own throw blanket is a wonderful way to personalize your living space and learn a valuable skill. By following this knit throw blanket tutorial, you’ll not only create a beautiful and functional item but also develop a deeper appreciation for the art of knitting.
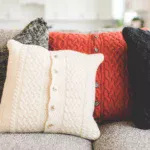
Read More: DIY Knitted Pillow Covers: Step-by-Step Guide
How Do You Cast On in Knitting for Beginners?
External Resources for Further Learning
- Craftsy – A leading educational platform for knitting tutorials.
- KnitPicks – Offers various patterns, materials, and tools for all skill levels.
- Ravelry – A community-driven platform for sharing knitting projects, patterns, and ideas.
By taking the time to follow this knit throw blanket tutorial, you’ll have the skills and confidence needed to create a cozy addition to your living room, whether you’re an experienced knitter or just starting.