Outline: How Do You Cast On in Knitting for Beginners?
| Main Headings | Subheadings |
|---|---|
| H1: Introduction to Casting On in Knitting | – What Does Casting On Mean? – Importance of Learning to Cast On Properly |
| H2: Different Methods of Casting On for Beginners | – Long-Tail Cast-On – Knit Cast-On – Cable Cast-On |
| H2: Step-by-Step Guide: How to Cast On in Knitting | – Materials Needed – Step-by-Step Instructions for the Long-Tail Cast-On (Beginner-Friendly) |
| H2: Tips for Beginners: Mastering the Cast-On Technique | – Common Mistakes and How to Avoid Them – Adjusting Tension and Stitch Tightness |
| H2: FAQs About Casting On in Knitting | – What is the easiest way to cast on for beginners? – How do I cast on stitches for the first time? – Why are my cast-on stitches too tight or loose? – How many stitches should a beginner cast on? – What is the difference between casting on and casting off? |
| Key Takeaways | – Summary of Essential Casting On Tips – Importance of Choosing the Right Cast-On Method for Your Project |
For anyone new to knitting, learning how to cast on is the first essential step. Casting on refers to the process of creating the initial row of stitches on your needle, setting the foundation for the rest of your project. Whether you’re aiming to knit a scarf, hat, or even a small swatch to practice, mastering casting on will help you start any project with confidence. In this guide, we’ll explore the most beginner-friendly techniques and provide step-by-step instructions on how to cast on in knitting.
What Does Casting On Mean?
In knitting, casting on is the process of creating the first row of stitches on your needle. These stitches provide the framework from which you will build the rest of your knitted fabric. Think of casting on as the foundation of a building — without it, your project cannot begin.
Why Learning to Cast On is Important
- Foundation for all projects: Every knitting project starts with casting on, making it one of the first skills you need to learn.
- Affects the look and flexibility: The method you choose impacts the flexibility and appearance of the edges of your project.
- Improves knitting efficiency: Once you know how to cast on correctly, you’ll knit more smoothly and with fewer mistakes.
Different Methods of Casting On for Beginners
There are several ways to cast on, but for beginners, some methods are easier to grasp than others. The technique you choose can depend on the project or the type of yarn you are using. Below are three beginner-friendly cast-on methods that are commonly used.

1. Long-Tail Cast-On
This is one of the most popular methods among beginners and experienced knitters alike. It creates a clean, stretchy edge, which is perfect for most projects like scarves or hats. The long-tail cast-on requires a bit of practice to measure the right length of yarn for the tail, but it’s worth the effort.
- Create a slipknot about 12 inches from the end of your yarn.
- Place the slipknot on your needle and hold the needle in your right hand.
- With your left hand, stretch the yarn between your thumb and index finger, forming a triangle.
- Bring the needle under the strand around your thumb, then catch the yarn over your index finger.
- Pull the loop through and tighten the stitch.
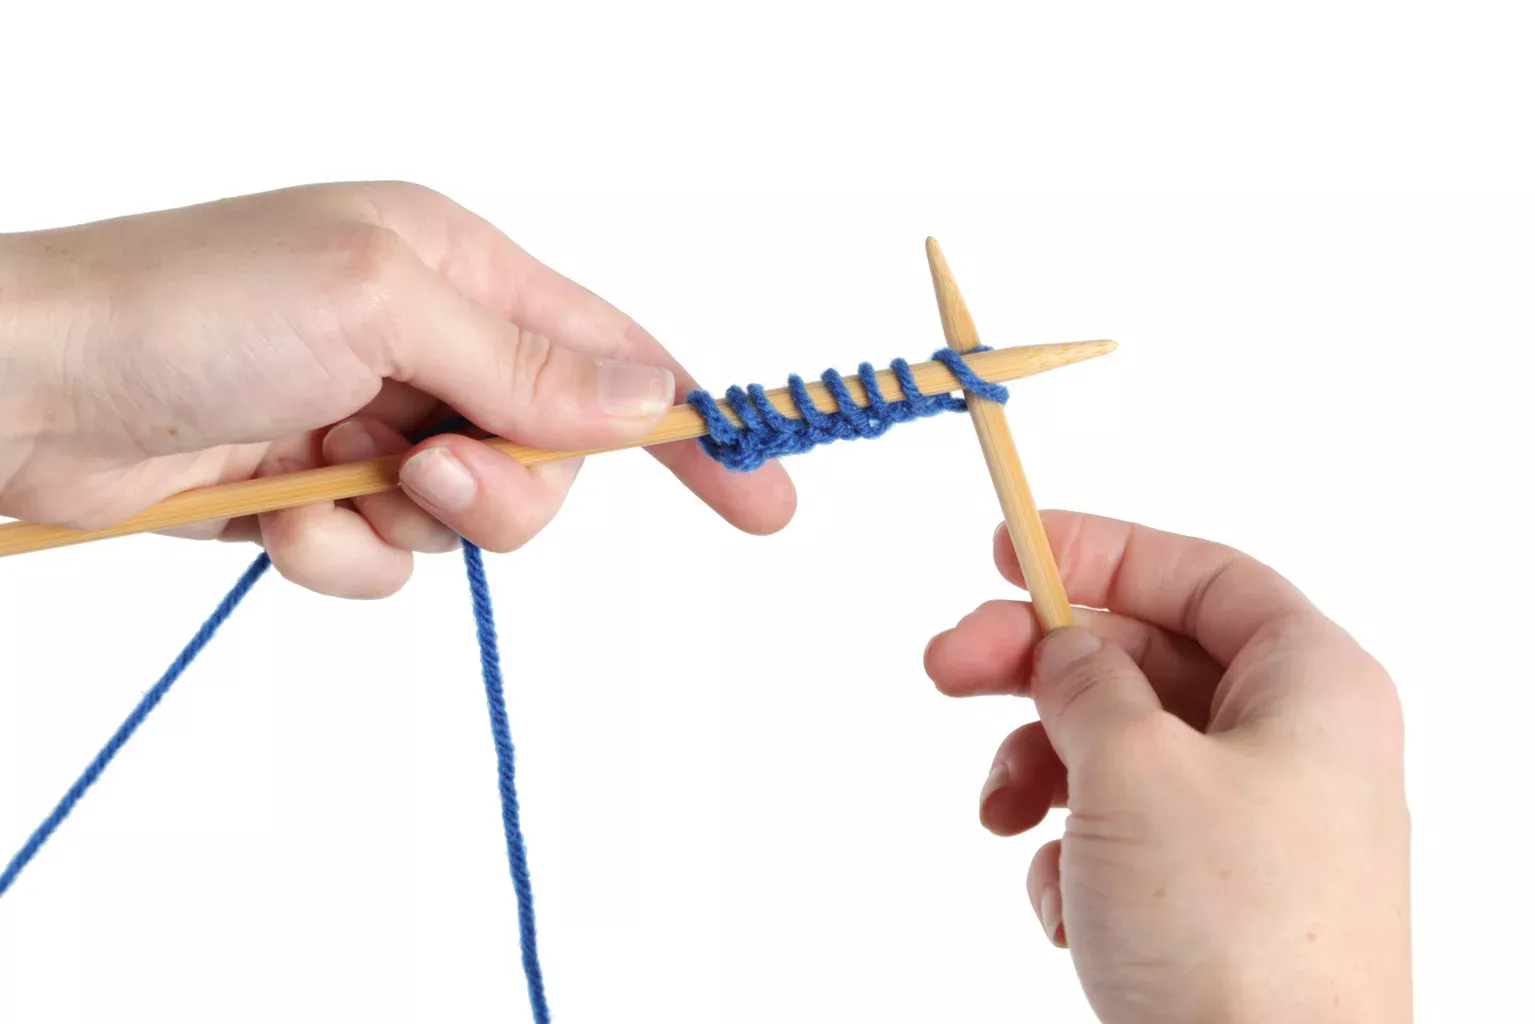
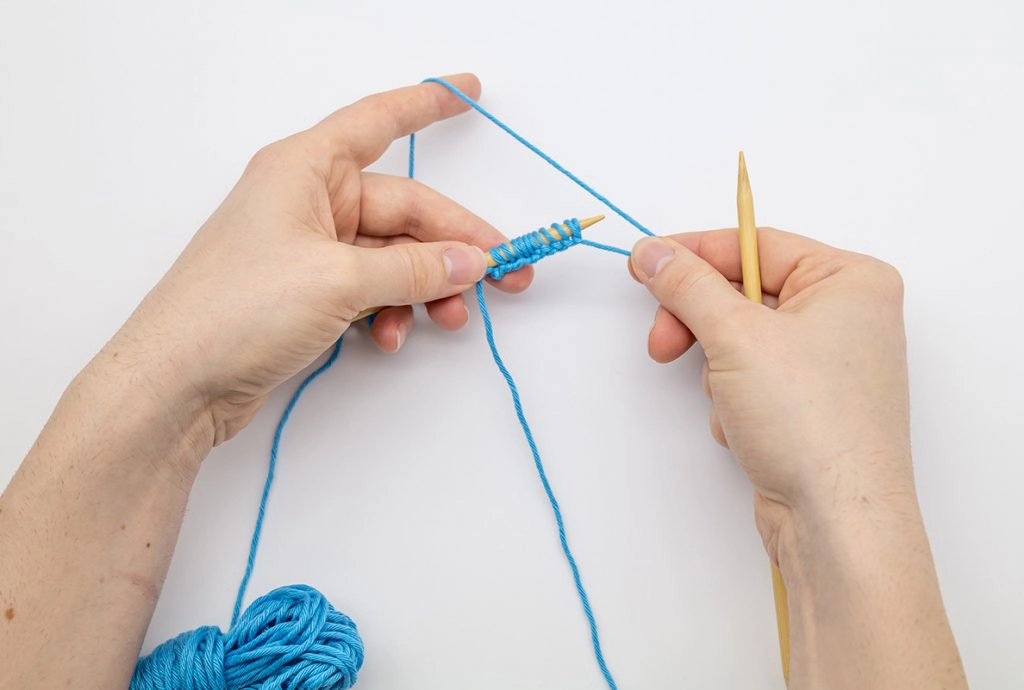
2. Knit Cast-On
This method mimics the knit stitch, which makes it great for beginners who want to learn basic knitting techniques while casting on. It creates a firm edge, making it ideal for pieces where you want structure, such as dishcloths.
- Start by making a slipknot and placing it on your needle.
- Insert the right needle into the slipknot as if to knit.
- Wrap the working yarn around the needle and pull it through.
- Place the new loop onto the left-hand needle.
3. Cable Cast-On
The cable cast-on is very similar to the knit cast-on but results in a slightly firmer edge. It’s great for projects where you need a strong and stable edge, such as bags or sweaters.
- Begin with a slipknot on your needle.
- Insert the right-hand needle between the first and second stitches on the left-hand needle.
- Pull the yarn through and place the new loop onto the left needle.
Step-by-Step Guide: How to Cast On in Knitting
For beginners, the long-tail cast-on is an excellent choice. It’s versatile, easy to learn, and works well for most projects.
Materials Needed:
- Knitting needles (appropriate size for your yarn)
- Yarn
- Scissors
Step-by-Step Instructions for the Long-Tail Cast-On:
- Measure your yarn tail. You’ll need about one inch of yarn for every stitch you plan to cast on. If you’re casting on 20 stitches, leave at least 20 inches of yarn as your “tail.”
- Create a slipknot. Form a loop with your yarn, pull the tail end through, and tighten to form a knot. Place the slipknot on your needle, making sure the tail end is in front.
- Hold your yarn. Using your left hand, spread your thumb and index finger apart, holding the yarn between them to form a loop. The tail should be around your thumb, and the working yarn (attached to the ball) around your index finger.
- Cast on stitches. Bring the needle under the yarn on your thumb, then over the yarn on your index finger. Pull the yarn through the loop on your thumb and tighten it onto the needle. This creates one stitch. Repeat until you have the desired number of stitches.
- Check your tension. Your stitches should be snug but not too tight on the needle, allowing the needle to move through them smoothly as you begin knitting.

Tips for Beginners: Mastering the Cast-On Technique
Learning to cast on can be challenging at first, but with practice, you’ll get the hang of it. Here are some tips to make your learning process smoother.
Common Mistakes and How to Avoid Them
- Stitches are too tight: If your stitches are difficult to move on the needle, they may be too tight. Relax your grip on the yarn and needles, and aim for a loose, even tension.
- Stitches are too loose: If the stitches are too loose, they may slip off the needle. Tighten each stitch slightly before moving on to the next one.
- Running out of tail yarn: Beginners often misjudge the length of the yarn tail. A good rule of thumb is to leave one inch of tail for each stitch you plan to cast on, plus a few extra inches for good measure.
Adjusting Tension and Stitch Tightness
Tension is key when casting on. If your stitches are too tight, it will be hard to work the first row. If they’re too loose, your edge might look sloppy. Aim for a medium tension where the stitches can glide easily along the needle without slipping off.
FAQs About Casting On in Knitting
1. What is the easiest way to cast on for beginners?
The long-tail cast-on is often considered the easiest method for beginners due to its versatility and ease of learning.
2. How do I cast on stitches for the first time?
Start with a slipknot, place it on your needle, and follow a beginner-friendly cast-on method like the long-tail or knit cast-on. Ensure your tension is even as you add stitches.
3. Why are my cast-on stitches too tight or loose?
Tight cast-on stitches are usually the result of pulling the yarn too hard, while loose stitches happen if you don’t secure them enough. Practice maintaining even tension as you work.
4. How many stitches should a beginner cast on?
For practice, start with around 20-30 stitches. This is enough to practice your knitting without being overwhelming.
5. What is the difference between casting on and casting off?
Casting on is how you begin a project by creating stitches on your needle, while casting off is how you finish by securing your final stitches so they don’t unravel.
Key Takeaways
- Casting on is the essential first step in knitting, creating the foundation for your project.
- The long-tail cast-on is an easy and versatile method for beginners, offering a stretchy and clean edge.
- Practice your tension to avoid stitches being too tight or too loose.
- Choose the right cast-on method based on the project you’re working on and the type of yarn you’re using.
Read More: Can You Bring Knitting Needles on the Plane? A Comprehensive Guide